Courses: Introduction to GoldSim:
Unit 15 - Modeling Scenarios
Lesson 5 - Running Scenarios
In this Lesson, we will continue to explore the Example model you modified in the previous Lesson. If that model is not already opened, you should do so now (you should have saved it to the "MyModels" subfolder in the “GoldSim Course” folder on your desktop as Adding_Scenarios.gsm).
The real power of GoldSim’s scenarios capability is being able to run and view the results of different scenarios in a single chart or table. In order to do this, after defining scenarios, you need to run the different scenarios and compare their results. This, however, is the most complex (and hence potentially most confusing) part of scenario modeling, so we will walk through it slowly.
As we discussed in a previous Lesson, in order to compare scenarios, the model must be in Scenario Mode. It is important to understand that simply running a model with scenarios does not place the model in Scenario Mode. To demonstrate that, run the Adding_Scenarios.gsm model now. After you do so, view the time history result. You will note that there is only a single time history result:
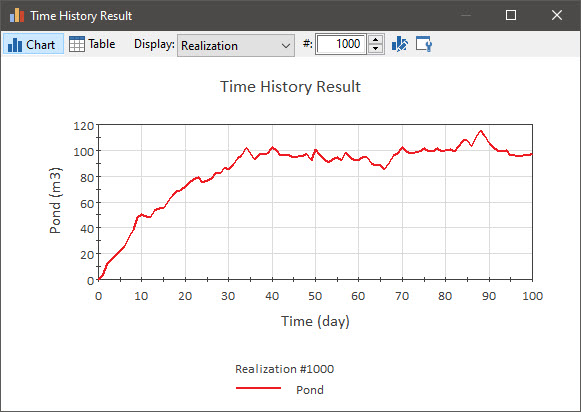
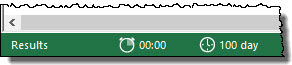
So what are we looking at here? As indicated in the Status bar, this model is in Result Mode (not Scenario Mode), and is showing the result for a single scenario (the “Dry” scenario):
This is no different than any model we have run before. GoldSim is simply telling us that this model has scenarios defined, and the inputs and results for this model are associated with the “Dry” scenario. If you hold your cursor over the two Data elements, you will clearly see that their values are those for the “Dry” scenario.
The point is that we cannot compare scenarios in Result Mode. In Result Mode we can only look at one scenario at a time.
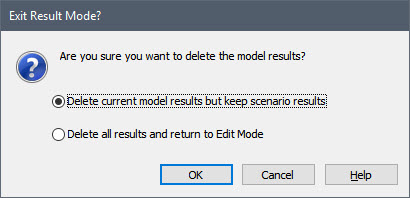
To compare multiple scenarios, we must be in Scenario Mode. So how do we do that? There are two ways to enter Scenario Mode. To see the first one, press F4 now. We have done this many times in the past in order to return to Edit Mode. But this time we are not going to return to Edit Mode. When you press F4, this dialog appears:
Whenever you have pressed F4 in the past, GoldSim has provided a similar dialog. In particular, there have always been two choices. The first (and the default) was to return to Edit Mode. There was always a second choice too (which we have always ignored). Toward the end of this Unit, we will revisit that standard dialog that you have seen in the past whenever you pressed F4 in a model without scenarios.
In this particular case, however, the default choice is not to return to Edit Mode (that is the second choice). Because we have defined and run a scenario, the default choice is to “Delete current model results but keep scenario results”. That is what we are going to do now. Stay with the default choice and press OK.
After you do so, you will see that the model is now in Scenario Mode:

So what did we just do? In Scenario Mode, the only place that results are saved are in Result elements. In Result Mode, the results are saved everywhere (e.g., you can right-click on any element to view results). So when we decided to “Delete current model results but keep scenario results” what GoldSim did was to delete all of the results except for those stored by the two Result elements. More importantly, it placed the model in Scenario Mode.
View the time history result again. You will note that there is still only a single time history result (the result for the “Dry” scenario):

We are in Scenario Mode now, so why can’t we see the results for the other scenarios? It is because we have not run those other scenarios. In order to see their results, we need to run those scenarios too:
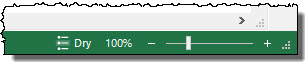
- Close the result display and go back down to the Status bar and click on the small icon just to the left of “Dry” to display all the scenarios:

You will notice that the “Dry” scenario has an asterisk (*) next to it, while the other scenarios do not. An asterisk next to a scenario indicates that the scenario has results (i.e., it has been run). - While this menu is open, select the “Normal” scenario.
- Run the model (this will place the model in Result Mode).
- Press F4, and select OK to accept the default of “Delete current model results but keep scenario results”. This will put the model back in Scenario Mode.
Now view the time history result again. You will note that there are now two time history results (one for each of the two scenarios that have been run):
Finally, we will repeat this process for the “Wet” scenario:
- Close the result display and go back down to the Status bar and click on the small icon just to the left of “Normal” to display all the scenarios. You will notice that both the “Dry” scenario and “Normal” scenario have an asterisk (*) next to them (indicating that they have results).
- While this menu is open, select the “Wet” scenario.
- Run the model (this will place the model in Result Mode).
- Press F4, and select OK to accept the default of “Delete current model results but keep scenario results”. This will put the model back in Scenario Mode.
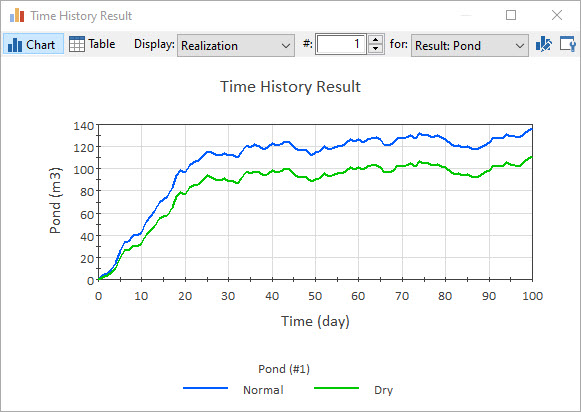
Now view the time history result again. You will note that now that all three time history results (one for each of the three scenarios) are displayed:

We mentioned earlier in this Lesson that there were two different ways to enter Scenario Mode. What we just stepped through (running each scenario separately, and then entering Scenario Mode) is the most complex way to do that. There is actually a much easier way.
To see this, we need to “start over” and delete all of the scenario results (so that the model is back in Edit Mode). To do that, close the result display and press F4. The following dialog will be displayed:
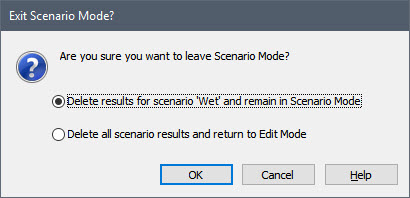
Select the second option (“Delete all scenario results and return to Edit Mode”) and press OK.
Now open the Scenario Manager (F7):
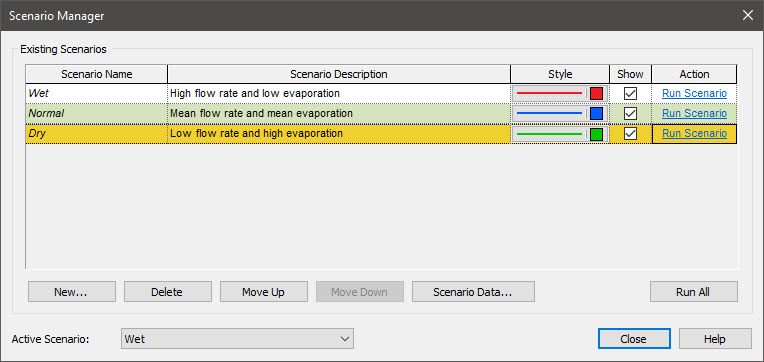
From this dialog, you can run a single scenario by pressing one of the Run Scenario buttons, or run all scenarios via the Run All button. (You can also run just selected scenarios by clearing the Show box for the scenarios you don't want to run and pressing Run All.) GoldSim will run the model for the single scenario, all scenarios, or the selected scenarios only and place the model in Scenario Mode.
Press the Run All button now. The dialog will now look like this:
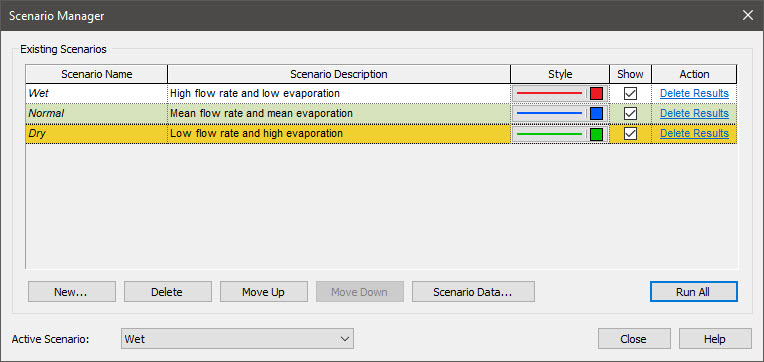
In this case, pressing the button actually ran the model three times (once for each scenario). The dialog indicates that all three scenarios contain scenario results (the Action column provides the option to Delete Results, which would delete the scenario results for that scenario).
This Lesson discussed how you can run scenarios. In the next Lesson, we will use the same model to explore how you can compare scenario results in Time History Result elements.
Because we will continue to explore this model in the next Lesson, close the Scenario Manager and save the model again (as Adding_Scenarios.gsm) to the “MyModels” subfolder in the “GoldSim Course” folder on your desktop.