Courses: Introduction to GoldSim:
Unit 16 - Documenting Your Model
Lesson 4 - Aligning, Spacing, Ordering and Grouping Objects in the Graphics Pane
One of the simplest (but still highly effective) things you can do to “clean up” the appearance of a model, and hence make it easier to understand, is to align and space the elements (and graphic objects) in the graphics pane.
GoldSim provides standard tools for aligning, spacing, ordering and (for graphical objects) grouping items in the graphics pane.
We will explore these very simple tools by looking at an Example. You will find the model in the “Examples” subfolder of the “Basic GoldSim Course” folder you should have downloaded and unzipped to your Desktop. In that folder, open a model file named Example34_CleaningUp.gsm.
The operations we are going to carry out can be done in two different ways:
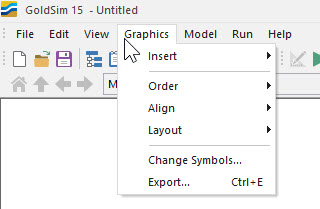
- By using options (e.g., Order, Align, Layout ) under Graphics in the main menu:
- By using the same options in the Graphical Tools toolbar:
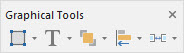
The Graphical Tools toolbar is located (by default) to the far right of the toolbar section, so you may need to expand the GoldSim window (or move the toolbar) to use it. Below, we will use the options in the main menu, but you can do the same using the toolbar if you want.
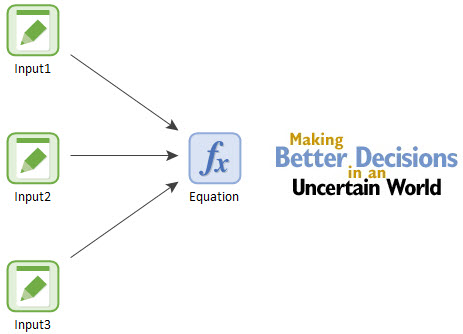
After opening the Example, let’s first focus on the left side of the graphics pane, which looks like this:
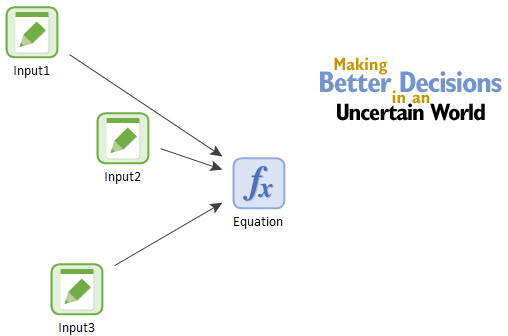
Let’s start by spacing and aligning the three Data elements:
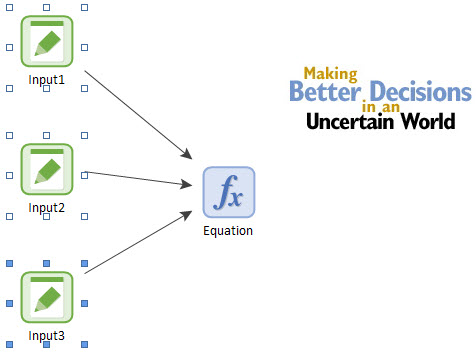
- Select all three elements by left-clicking to the left and above Input1 and dragging a box that includes the other two elements.
- From the main menu, select Graphics | Layout | Space Down.
- While the three elements are still selected, from the main menu, select Graphics | Align | Align Center.
The left side of the screen should now look like this:
Next, let’s align the GoldSim image and the Expression with the Input2 Data element:
- First make sure that nothing is selected by clicking on empty space in the graphics pane.
- When you align objects, they are aligned to the final object selected. So in this case, we want to select (by holding the Shft or Ctrl key down while selecting) the image and the Expression first, and finally the Input2 Data element.
- While the three elements are selected, from the main menu, select Graphics | Align | Align Middle.
The left side of the screen should now look like this:
We used the Align tools to align these objects. It should be noted, however, that this is not necessarily required. When you drag objects around the screen, they automatically snap to a grid. You can show the grid by clicking the Show Grid checkbox on the Properties dialog for the Container (accessed by right-clicking on an empty space in the graphics pane and selecting Properties…).
Next let’s focus on the right side of the graphics pane, which contains four graphical objects:
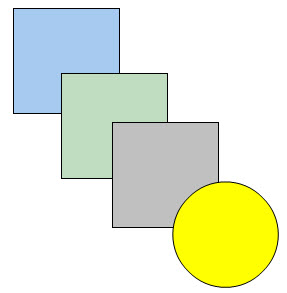
The order of objects is determined by when they were added. In this case, the blue rectangle was added first and the yellow circle was added last.
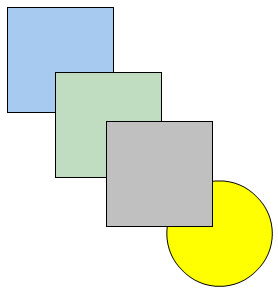
Let’s change the order of these objects now by moving the circle to the back:
- Select the circle.
- From the main menu, select Graphics | Order | Send Backward.
The right side of the screen should now look like this:
Note: The order of elements is always higher than graphical objects, regardless of when they were added or any actions that you take (i.e., an element can never appear behind a graphical object).
Let’s do one final operation here: we will group together the three squares and the circle:
- Select all four objects by left-clicking to the left and above the blue square and dragging a box that includes all the other objects.
- From the main menu, select Graphics | Group | Group.
After you do so, you will note that the collection is treated as a single object (e.g., they all move together). This is of value when you are using multiple graphics objects to create a more complex schematic. After doing so, you can group them.
Note: Only graphical objects can be grouped. Elements cannot be grouped.
This short Lesson provided you with an overview of how you can “clean up” the graphics pane by moving, aligning and adjusting the various objects. You can read more about these features in GoldSim Help.