Courses: Introduction to GoldSim:
Unit 16 - Documenting Your Model
Lesson 5 - Creating Notes
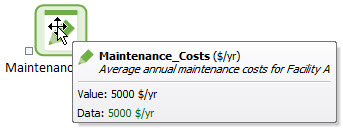
Back in Unit 5, the importance of adding a Description to each element was emphasized. It was pointed out that after naming your element, you should always immediately take a moment to add a Description. The Description simply provides one (of several) mechanisms for you to properly document your model. The Description is displayed in the tool-tip that is displayed when you place your cursor over an element (in both the graphics pane and the browser):
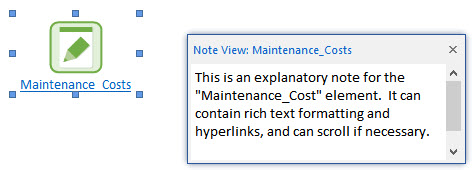
The length of the Description field is limited (it is meant for a line or two). In some cases, however, you may want to associate a significant amount of text with an element. GoldSim supports this by allowing you to attach a Note to an element:
To display, create and edit notes, you must activate the Note pane. By default, the Note Pane is turned off (hidden). The Note pane can be toggled on and off in order to edit and view notes for your elements. You do this by pressing the Note Pane button in the Standard toolbar:

You can also select View|Note from the main menu or by press Ctrl-Shft-N.
If the Note Pane is activated, whenever you select an element, the Note for that particular element is displayed in the Note Pane. The element whose Note is being displayed is indicated at the top of the Note Pane. If nothing is selected in the graphics pane, the Note for the entire Container is displayed.
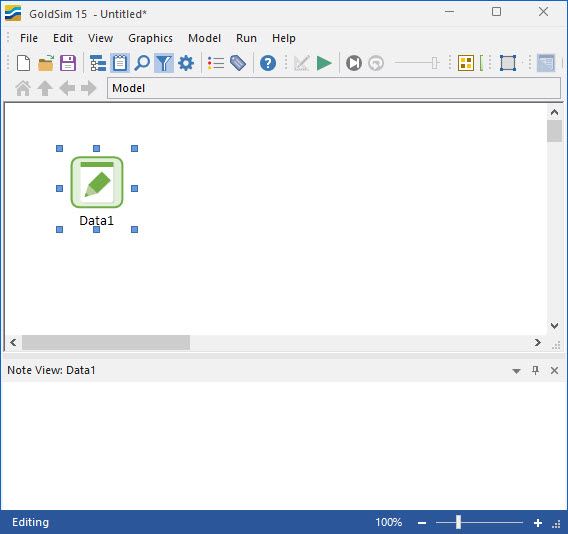
To experiment with Notes, start with a new model, create a Data element, select that element and turn on the Note Pane. By default, the Note Pane is initially docked on bottom of the screen:
The Note Pane can be in several different states, which can be selected from the drop-list at the top of the Note Pane:
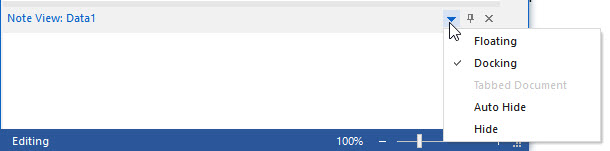
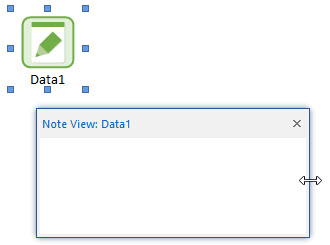
You can make the Note Pane become a floating window by selecting Floating from the drop-list (or double-clicking on the Note Pane title bar). After doing so, you can adjust the size of the floating Note Pane by selecting and dragging any of the four sides:
You can dock a floating Note Pane (to any side of the screen) by starting to drag it. When you do so, multiple docking points appear on the screen:
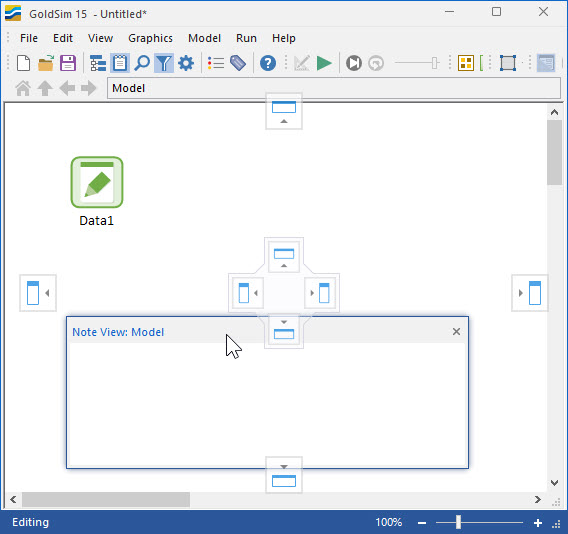
Dragging to the docking point docks the Note Pane at that location.
You can hide the Note Pane completely by selecting Hide from the drop-list. You can also hide the Note Pane by pressing Ctrl-Shft-N or by pressing the Note Pane button in the Standard toolbar.
Let’s keep the Note floating and add some text (make sure you select the Data element before adding any text). After you do so, you will notice that the element ID is underlined:
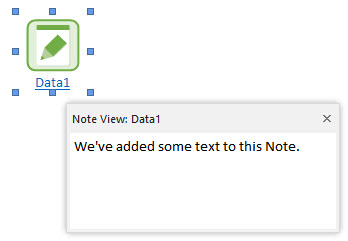
When an element has an attached Note, its ID will be underlined, and if the Note Pane is closed you can open it by clicking on the underlined element ID.
A Format Toolbar is available that provides tools for formatting your Note. By default, the Format Toolbar is turned off. You can show and/or hide the Format Toolbar by right-clicking in the Note Pane and selecting Show Format Bar from the menu. The various formatting options in the toolbar are self-explanatory. In addition to typing in the Note pane, you can paste text from another Note or another application (such as a word processor).
One of the most powerful features of Notes is that, like Text Boxes, you can insert hyperlinks to other documents:
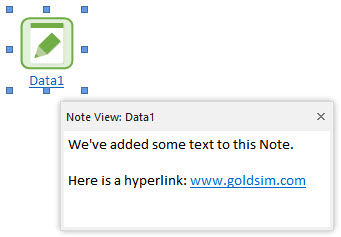
When you click on a hyperlink in a note, GoldSim will immediately open the application associated with the link (e.g., a web browser, a PDF, Word).